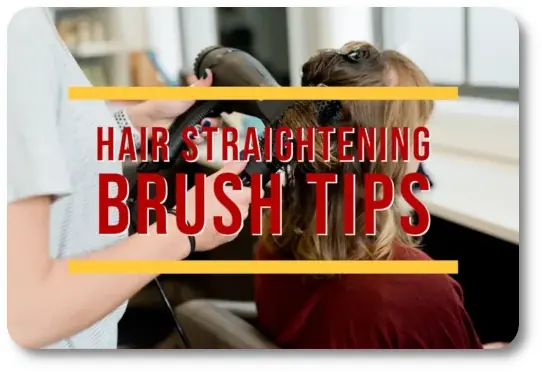
Looking to smooth your hair without the damage of a flat iron? Here’s how to use a straightening brush right plus common mistakes to avoid.
Alright, Let’s Talk Straightening Brushes
If you’re wondering whether a hair straightening brush is worth it or how to use it without turning your hair into hay I’ve got you covered.
I’ve tested dozens of these tools on all kinds of hair types. Some were miracle workers. Others were basically overpriced warm paddles. So today, I’m giving you the real story: what works, what doesn’t, and how to get smooth results without heat damage or disappointment.
What Is a Hair Straightening Brush?
Simple version: it’s a brush + heat styling tool in one.
The brush heats up (usually with ceramic or tourmaline tech), and as you glide it through your hair, it smooths out waves, curls, or frizz.
✅ Great for:
- Smoothing dry, frizzy, or puffy hair
- Styling in less time than a flat iron
- Adding body without totally flattening your hair
❌ Not so great for:
- Tight curls (3C and up)
- Wet hair
- Precision styling (like flat iron-level straight)
How to Use a Straightening Brush (The Right Way)
Here’s my tried-and-true method for getting the best results:
1. Start With Dry, Detangled Hair
These brushes are meant for dry styling. Using them on wet or damp hair? That’s asking for damage.
👉 Detangle with a wide-tooth comb or paddle brush first.
2. Apply a Heat Protectant
Don’t skip this step. Heat protection = frizz control + fewer split ends.
3. Section Your Hair
Work in layers, just like you would with a flat iron. Top-down styling might feel faster, but it’s a recipe for uneven results.
4. Use Slow, Steady Passes
No yanking. Let the brush do the work. One or two passes per section should be plenty if the brush is doing its job.
5. Finish With a Serum or Oil
Once everything’s smooth, a little lightweight oil will lock it in and add shine ✨.
Common Mistakes (And How to Avoid Them)
❌ Brushing too fast
✅ Slow down. Heat needs time to smooth the cuticle.
❌ Starting at max heat
✅ Start on medium. Most people don’t need 400°F to get results.
❌ Brushing large chunks of hair
✅ Small sections = consistent results + less heat exposure.
Straightening Brush vs. Flat Iron: What’s the Difference?
| Feature | Straightening Brush ✅ | Flat Iron 🔥 |
| Styling Time | ✅ Fast | ❌ Slower |
| Ease of Use | ✅ Beginner-friendly | ❌ Learning curve |
| Hair Damage Risk | ✅ Low | ❌ Higher |
| Volume Retention | ✅ Keeps body | ❌ Flattens |
| Best for | Smoothing & shaping | Sleek straight styles |
Want poker-straight, glass-like hair? Use a flat iron.
Want smooth, bouncy, everyday hair? A brush’ll do the trick.
Real Talk: Who This Tool Works For
| Hair Type | Good Fit? |
| Fine or medium, wavy | ✅ Excellent |
| Thick or frizzy | ✅ With patience |
| Curly (3A–3B) | ⚠️ Limited unless pre-stretched |
| Coily or tightly curled (3C–4C) | ❌ Not recommended |
| Chemically treated or dry hair | ✅ On low heat |
My Favorites (Tools That Didn’t Let Me Down)
🧰 Revlon One-Step Plus – Budget-friendly and powerful.
🧰 GHD Glide – Premium brush that handles frizz like a pro.
🧰 Drybar The Brush Crush – Smooths fast, ideal for daily use.
Final Verdict
Hair straightening brushes won’t give you the same results as a flat iron but that’s not what they’re built for.
If your goal is:
- Faster styling
- Less damage
- Smoother, shinier, everyday hair
…then this is one of the best tools you can add to your routine. Just take the time to learn it and avoid the common mistakes.
Ed’s Take
“Some tools need training. This one just needs respect. Use the right prep, pace, and products and it’ll do most of the work for you.”
Ed Shears

